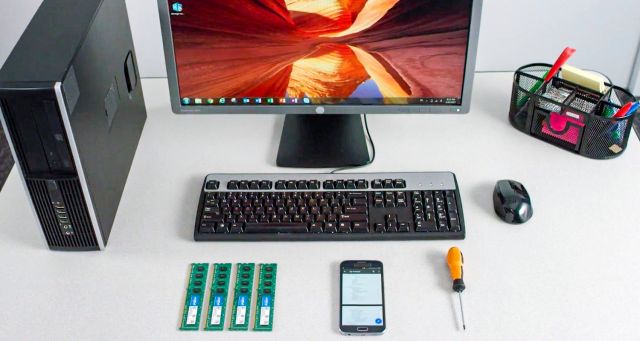
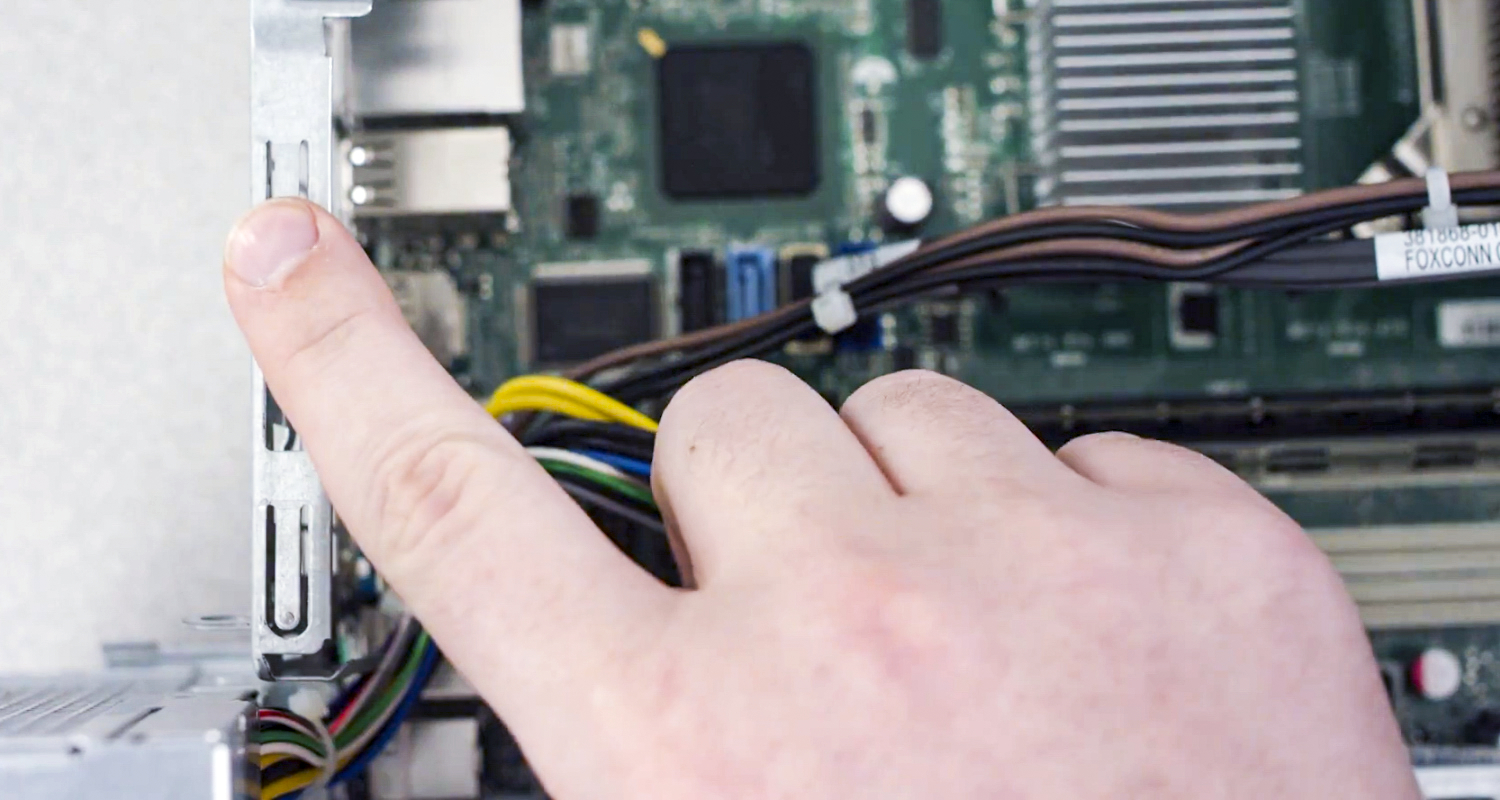
Sorry. Your search did not match any active Crucial part numbers or configuration IDs.
Install RAM in computer

Adding memory (RAM) to your desktop computer can instantly make your computer faster, increase system responsiveness, and make multitasking seamless. While upgrading your RAM is easy to do, it’s important to find out if your PC is capable of this type of upgrade before buying new RAM. There are also some important precautions to take before you begin the installation process.

Precautions before installation

When installing RAM, you need to be careful of static electricity, which can damage the components in your system. To protect your components and yourself during the installation process, you can either wear an electric static discharge (ESD) wrist strap or avoid touching any of the unpainted metal surfaces on your computer’s frame. Either method will safely discharge the static electricity that may have built up on your body.

You also need to handle memory modules very carefully. To protect your memory module, avoid touching the gold pins or components (chips). It’s best to hold the module by the top or side edges.

Now that you’re aware of the needed precautions, watch our tutorial or follow the steps below to learn how to upgrade your RAM.

10 easy steps to upgrade RAM on a PC

1. Prepare your space and gather supplies

To begin, clear your installation space and make sure you’re working in a static-safe environment. Remove any plastic bags or papers from your workspace. You can wear an ESD wrist strap for extra protection.

RAM installation supplies

Next, you’ll need the following items:

2. Shut down your desktop computer

There’s no need to back up your computer before you begin the upgrading process. Your files, documents and data are stored on your storage drive, not your RAM, so they will remain intact and unaffected during your upgrade.

3. Unplug the power cable

To make sure you’re installing your new RAM as safely as possible, unplug any power cables. This includes any accessories that may be plugged into your computer. 

4. Hold the power button for 5 seconds

Holding the power button discharges any residual electricity still in the system, which aids in the safety of the procedure.

5. Open the case

For instructions about opening your specific system, consult its owner's manual. You can also take pictures as you work through the process to see where cables or screws are attached to make it easier to put back together.

Desktop case open

6. Ground yourself!

Man removes static electricity by grounding

Touch an unpainted metal surface – this is an extra safeguard that protects your computer memory and components from static damage during the installation process.

Precautions before installation:

  • Discharge static electricity

    Static electricity can damage the components in your system. To protect your system’s components from static damage during the installation process, touch any of the unpainted metal surfaces on your computer’s frame or wear an ESD wrist strap before touching or handling internal components. Either method will safely discharge static electricity that’s naturally present in your body.

  • Protect your memory module

    To protect your memory module, avoid touching the gold pins or components (chips). It’s best to hold the module by the top or side edges.

7. Remove existing memory modules

Press down on the clips on the sides of each module, the clip mechanism will push the memory module up. You can then pull the module completely out.

Person removes desktop RAM module

8. Install new RAM

Holding the modules along the edges, align the notches on the module with the ridge in the slot, then apply even pressure and firmly press the module in. It usually takes about 30 pounds of pressure to fully install the module.

Person installs RAM in desktop computer

Note: Some desktops require you to install modules in matched pairs (memory banks). If this is the case, the slots will likely be labelled for how the memory should be installed. If you only have two memory slots, don't worry about this - proceed with the simple install.

Memory banks

9. Close the computer case

This is where your pictures will come in handy! Put everything back together. Make sure that the computer case has been clicked back into place before turning your computer back on.

10. Plug in the power cable

Plug the power cable back in and restart your computer. 

Your Memory is now Installed!

Boot up and enjoy a more responsive computer that’s now better equipped to run memory-intensive apps.

FAQs & Troubleshooting

  • What should I do if my computer doesn’t recognize the new RAM?

    If your computer doesn’t recognize the new RAM, the first step is to ensure that the RAM sticks are properly seated in their slots. Open your computer case and press down firmly on each stick until you hear a click, indicating they are securely in place. If the problem persists, try booting your computer with one RAM stick at a time to identify if one of them is faulty. Additionally, check your motherboard’s manual to ensure the RAM is installed in the correct slots for dual-channel operation. If these steps don’t resolve the issue, you might need to update your BIOS, as older versions may not support newer RAM modules.

  • Do I need to change any BIOS settings?

    After installing new RAM, you might need to enter the BIOS to ensure it is configured correctly. One common setting to adjust is the XMP (Extreme Memory Profile), which allows the RAM to run at its advertised speed rather than the default speed. To do this, restart your computer and enter the BIOS by pressing a key like F2, Delete, or Esc during startup (the exact key depends on your motherboard). Once in the BIOS, navigate to the memory settings and enable XMP. This will automatically configure the RAM to its optimal settings. Save your changes and exit the BIOS to apply the new configuration.

    See our article on What is XMP and How to Change XMP Profiles to learn more.

  • How can I verify that the new RAM is working?

    To verify that your new RAM is working correctly, you can use several methods. First, check the system properties in your operating system to see if the total installed RAM matches what you installed. On Windows, you can do this by right-clicking on ‘This PC’ and selecting ‘Properties.’ For a more detailed analysis, you can research third party software tools like CPU-Z or HWMonitor, which provide comprehensive information about your system’s hardware, including RAM specifications and performance. Additionally, running a memory test using tools like Windows Memory Diagnostic or MemTest86 could help identify any issues with the new RAM. Make sure to do your own research on these tools before using.

  • Is it safe to mix different brands or speeds of RAM?

    While it is possible to mix different brands or speeds of RAM, it is generally not recommended due to potential compatibility issues. Mixing RAM with different speeds can cause the system to default to the speed of the slowest module, potentially limiting performance. Additionally, different brands may have varying timings and voltages, which can lead to instability or system crashes. For the best results, it’s advisable to use identical RAM sticks from the same manufacturer with the same specifications. This ensures optimal compatibility and performance, reducing the risk of any issues.

  • Do I need to install RAM in specific slots?

    Yes, installing RAM in the correct slots is important for optimal performance, especially if your motherboard supports dual-channel or quad-channel memory configurations. Most motherboards have color-coded slots to indicate which pairs should be used together. For example, if you have two RAM sticks and four slots, you typically need to install the sticks in slots 1 and 3 or slots 2 and 4 to enable dual-channel mode. This configuration allows the memory controller to access data more efficiently, improving overall system performance. Always refer to your motherboard’s manual for the recommended slot configuration, as it can vary between different models. Properly seating the RAM in the correct slots ensures that your system can take full advantage of the memory’s capabilities.

People also viewed

Qty:

We're sorry, but there is not enough quantity in stock to complete this order